

Inside a LiftMaster opener
LiftMaster openers come in three common layouts. Chain and belt drives hang from the ceiling and pull a trolley along a rail. Wall-mount units sit beside the door and turn the torsion bar directly, the steel shaft the springs wrap around.
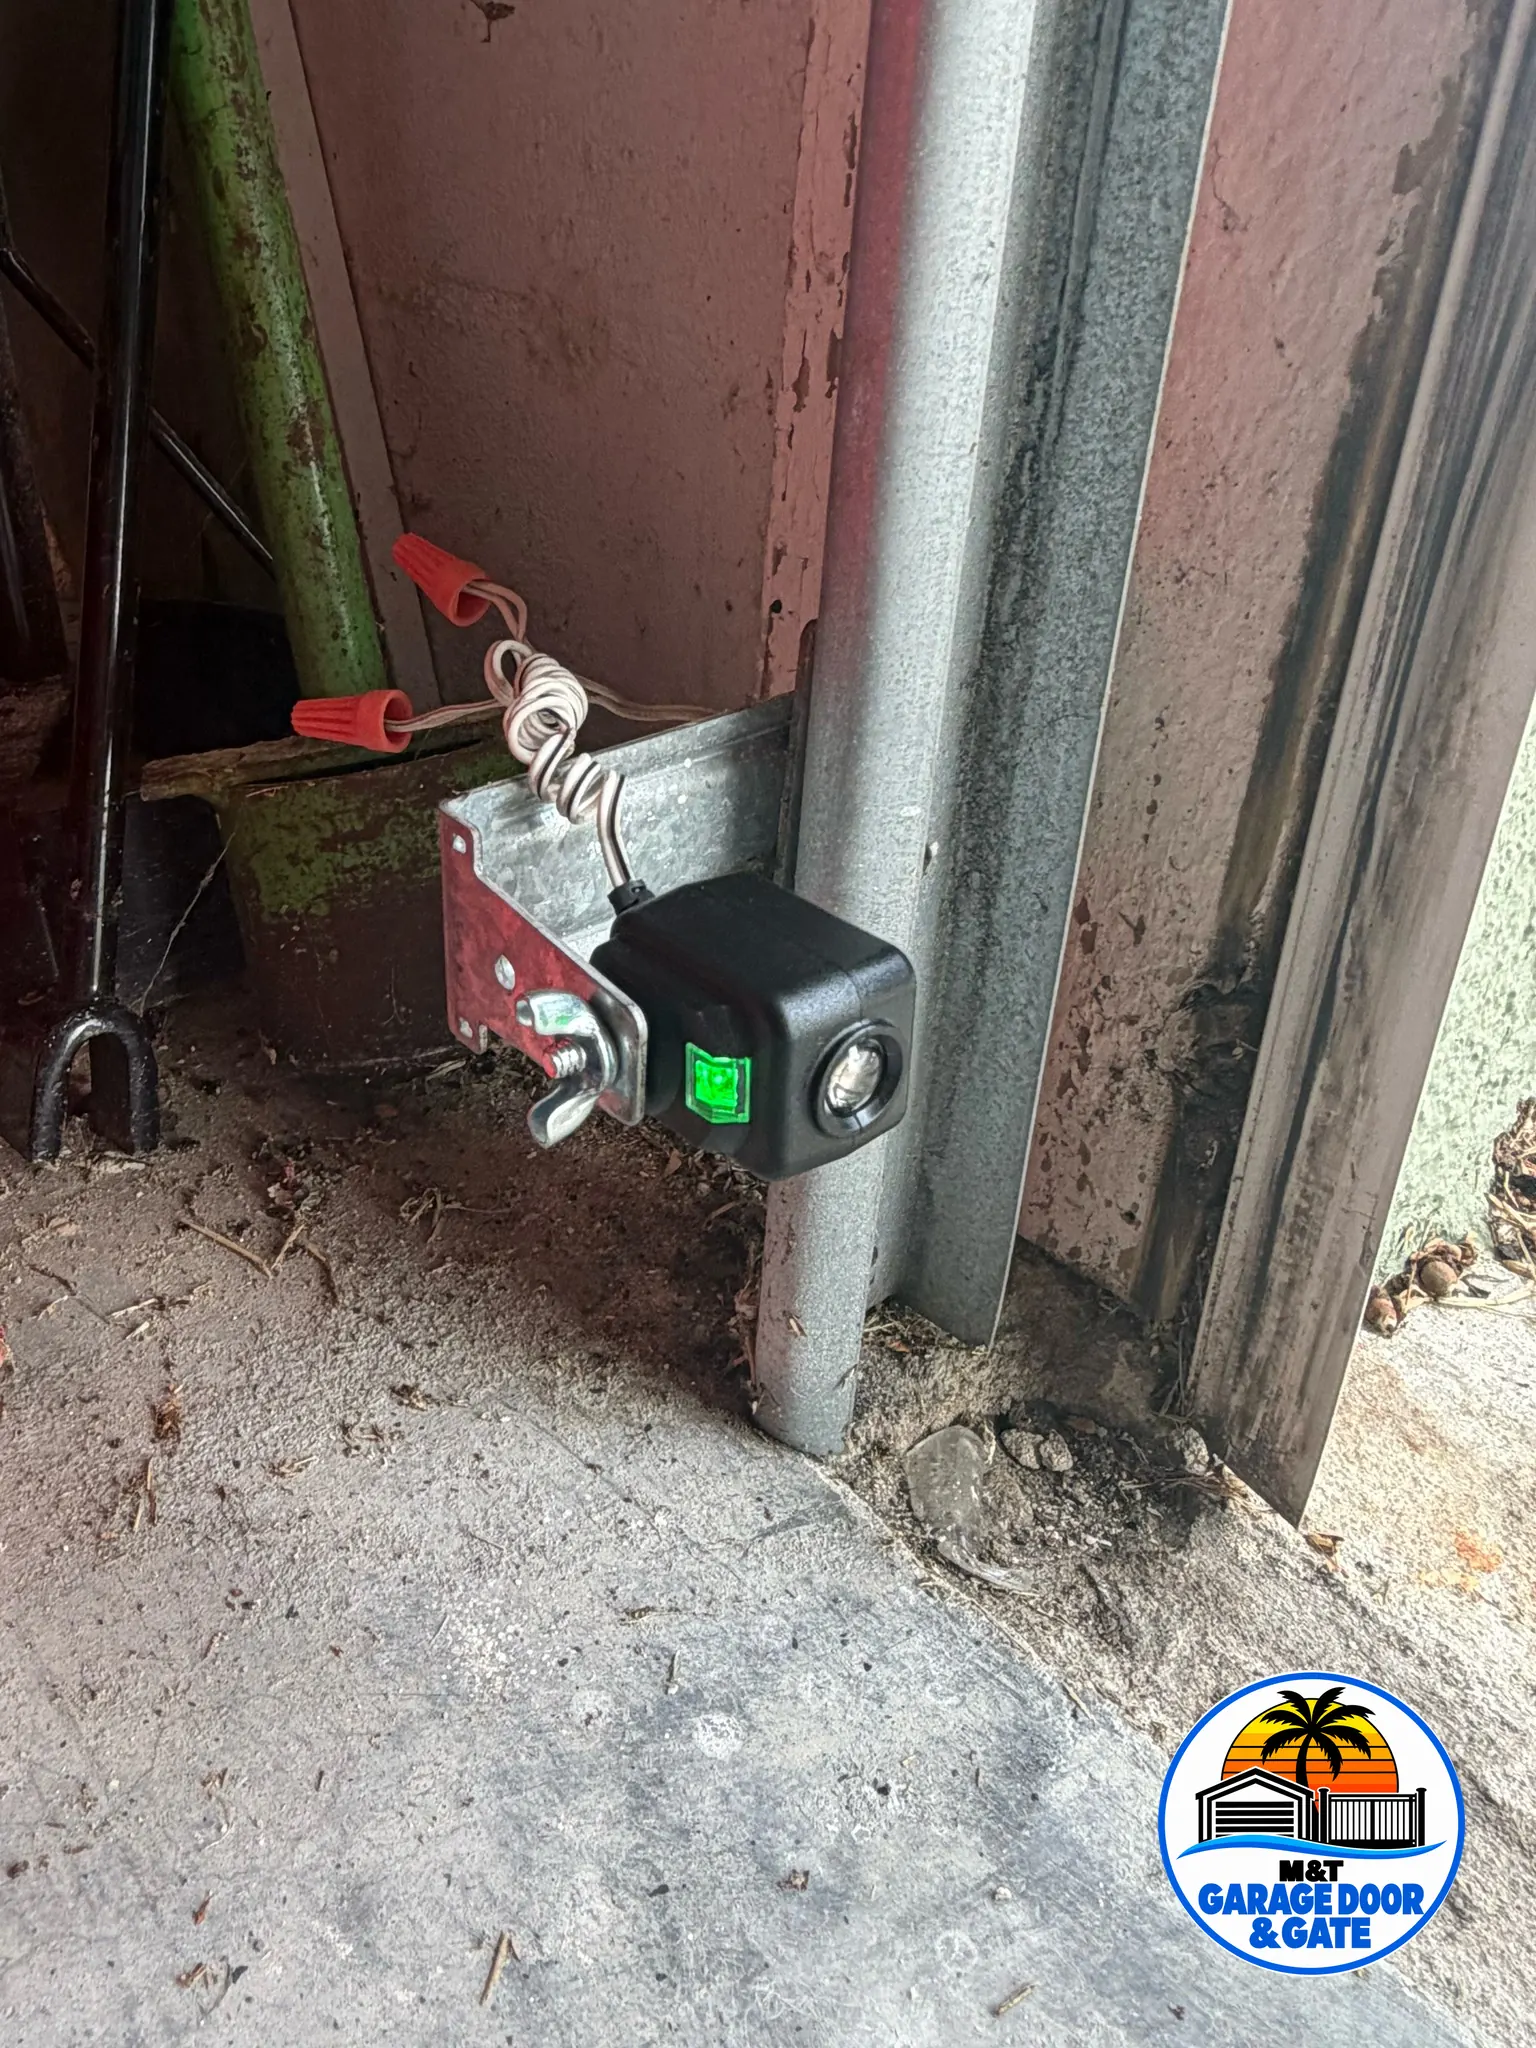
Whatever the layout, the same parts do the work: a motor, a drive gear, a logic board (the opener’s circuit board), and two safety sensors near the floor. Those sensors, often called photo eyes, shine a beam across the opening and stop the door if anything breaks it.
The model number is on a label on the motor unit, and the learn button nearby tells us which remotes it accepts. A yellow learn button, for example, means Security+ 2.0 remotes and keypads. Having both ready when you call saves time at the door.
LiftMaster and Chamberlain come from the same company and share many parts. If your label says Chamberlain, see Chamberlain garage door opener repair.
Common LiftMaster opener problems
Most LiftMaster trouble falls into a few patterns, and each one points to a part:
- Motor runs, door doesn’t move: a stripped drive gear inside the motor unit, or a trolley still disconnected after someone pulled the red release cord.
- Hums but won’t start: on older models, often a weak start capacitor. It can also mean a broken spring has left the door too heavy to lift.
- Door goes back up and the lights flash: the safety sensors are blocked, knocked out of line, or blinded by low sun across the driveway.
- Remotes stopped, wall button still works: a dead remote battery, lost programming, or the lock feature on the wall control left on.
- Odd behavior after a storm: a logic board or receiver hit by a power surge.
- Chirping now and then: on units with a battery backup, a battery that no longer holds a charge.
- Dropped off myQ: a new router or password, or a garage too far from the Wi-Fi signal.
Newer LiftMaster units also blink a fault code with the lights on the motor unit. Count the flashes before you call; it often narrows the problem down before anything is opened.
What we repair on LiftMaster openers
We test the door and the opener together, because a heavy or binding door can make a good opener look bad. Then we repair the part that failed:
- Drive gears, sprockets, trolleys, chains and belts
- Logic boards and receivers after surges or water
- Travel limits (the open and close stop points) and the force setting
- Safety sensors, their brackets and the thin wires back to the motor unit
- Wall controls, keypads and remotes, including Security+ 2.0 programming
- myQ pairing with your phone, and the battery in units with a backup
Remotes and keypads for other makes are on garage door remote programming, and openers of every type are on garage door opener repair. When a LiftMaster is beyond repair, we can swap in a plug-in unit that runs from your existing ceiling outlet.
If the opener needs a new outlet or new wiring, a licensed electrician does that part. Our LiftMaster work stays between the ceiling outlet and the door.
While you wait: safe steps with a stuck LiftMaster
If the motor hums and the door stays put, unplug the opener and stop pressing the button. Look at the springs above the door from the floor: a gap in a coiled spring means it has broken, and the door is now very heavy.
The red emergency release cord frees the door from the opener so it can move by hand. Pull it only with the door closed. Released while the door is up, it can fall if a spring has failed.
Keep people and cars out of the doorway until the door closes and reverses properly. Leave the springs, cables and bottom brackets alone: they hold the door’s full weight under tension.
LiftMaster garage door service and repair around Tampa Bay
We repair LiftMaster openers in homes throughout Tampa Bay, including Carrollwood, Citrus Park, the University Area, Brandon, Riverview and Wesley Chapel.
If you are weighing a repair against a different kind of opener, how to choose a garage door opener walks through the choices. After a blackout, garage doors after a power outage covers getting the door back on the opener safely.
How a visit goes
- Send the model and symptomsBook online or call (813) 836-7187 with the model from the motor label, the learn button color, and what the door does.
- Test the door, then the openerWe check the springs and balance by hand, then the opener’s gear, board, sensors and limits.
- Fix the failed partWe repair the part at fault and leave the rest of the opener as it is.
- Reset and safety testTravel limits and force get set for your door. Then we test the reverse with an object in the doorway and program your remotes.